How to Install Wire Hook Belt Fastener?
Inbelts is a wire hook fastener manufacturer in China. Here we will talk about how to install a wire hook belt fastener to join your belt. There are main tow steps, and you can learn from this article.
Proper Belt End Preparation
Make A Square Cutting
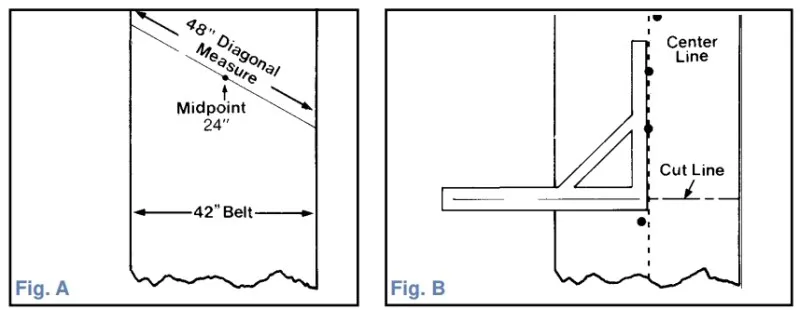
To prevent mistracking and extend splice life, it is critical to obtain a square cut off from the center-line of the belt. To achieve this, follow these simple steps:
- Prior to any work on your conveyors, make certain that the power has been turned off and the belt is "locked out"
- Mark the actual center points in belt width at intervals of 3 to 5 feet, for a distance of 15 to 20 feet back from the intended splice area (Fig. A).
- Using either a steel rule or a chalk line, mark the average center line through the points measured in Step 2 (Fig. B).
- Using a square, draw a line perpendicular to the average center line across the belt width (Fig. B).
- Using the a Cutter, cut the belt on the line drawn in Step 4.
Skive Impression Cover
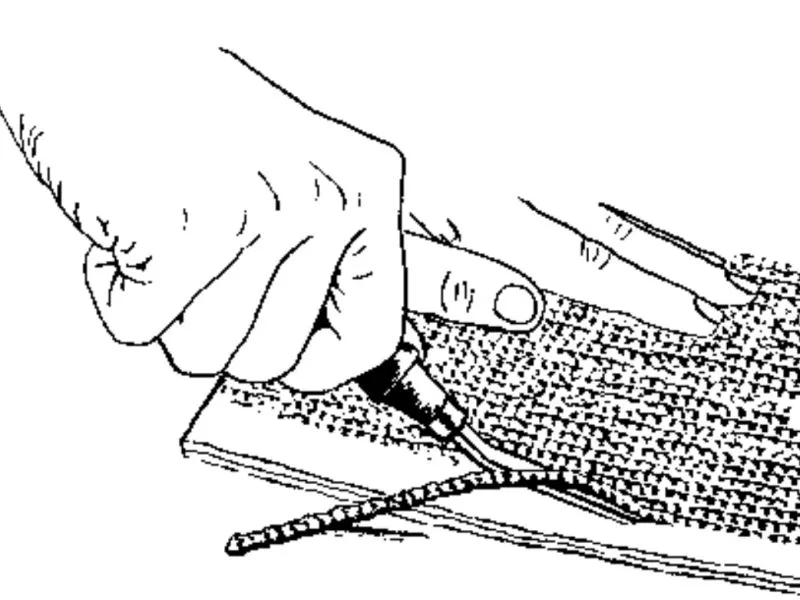
It is important to skive off the impression cover of a belt in the area where fasteners will be applied. This allows the proper size fastener to be selected and for proper penetration/clinch.
Properly Installed Splice
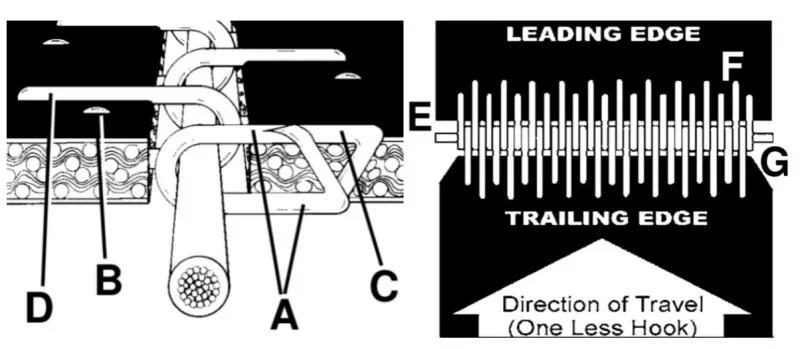
The Hook is Properly Sized & Clinched
- Hook legs are parallel.
- Points slightly penetrate opposite side of the belt.
- 1/3 to 1/2 of the wire diameter is embedded into the belt.
- Hook knuckles are not higher than the legs when installed.
- 1/4" (6.4 mm) on each belt edge is left unlaced.
- One more hook is installed on the leading end than the trailing end of the belt.
- Trailing end of the splice is chamfered/notched.
- Edges of the belt line up.
- Hooks are secure in the belt.
Proper Belt Clinch
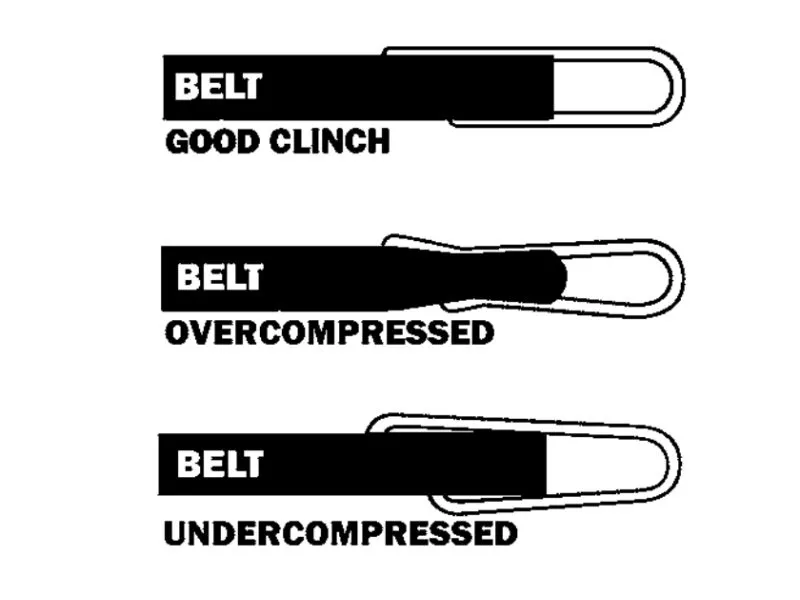
- Good Clinch: Legs are parallel, 1/2 of the wire diameter is embedded, points have penetrated opposite side.
- Over Clinch: Functional, but not optimal.
- Under Clinch: Embed further. Failure to do so will result in the hook opening up or in cracks in the knuckle area.
Proper Technique to Measure a Splice
Selecting the correct fastener based on the belt thickness, minimum pulley diameter, and application conditions is the first step to properly installing a splice. The second, and most crucial factor, is ensuring that the leg of the hook is embedded 1/3 to 1/2 its thickness into the belt. It’s easy to measure/inspect the splice for proper embedment; simply follow these four steps:
- Measure the belt thickness.
- Install the fasteners into the belt.
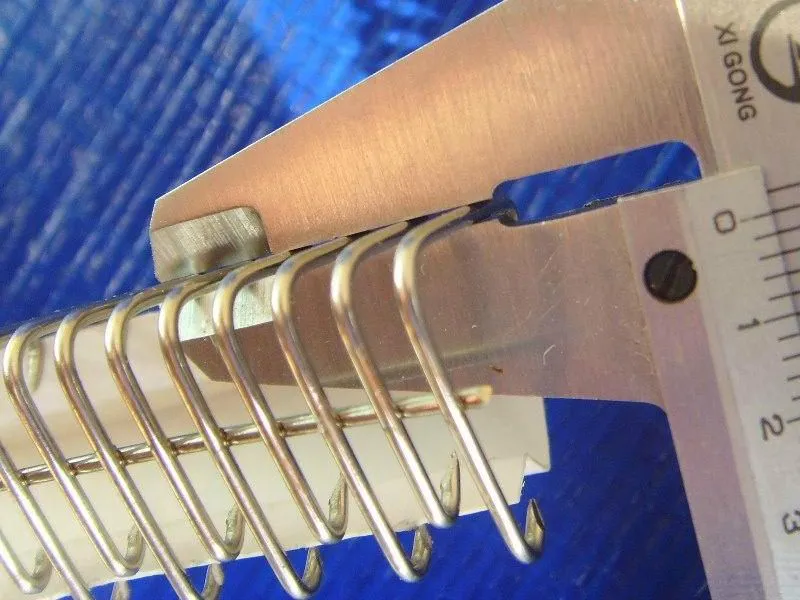
- Use a micrometer or caliper to measure the finished splice. Be sure to capture both the short leg knuckle and the adjacent long leg in one reading.
- If you have properly embedded the fasteners, your measurement should be between: 1) Original belt thickness plus the value in column C, and 2) Original belt thickness plus the value in column D. See the example and chart below.
| A | B | C | D |
| Hook Size | Wire Diameter | Plus 1/2 wire Diameter Embedded | Plus 1/3 Wire Diameter Embedded |
| 25 | .025’’ | .025’’ | 0.033’’ |
| 36 | .027’’ | .027’’ | 0.036’’ |
| 1 | .040’’ | .040’’ | 0.053’’ |
| 2-7 | .054’’ | .054’’ | 0.071’’ |
| 4-1/2 | .062’’ | .062’’ | 0.082’’ |


Leave Me Your Requirement!